Getting Started
The following diagram shows the Apple Messages for Business accounts onboarding process.

First, you begin by creating your Apple Messages for Business accounts, which includes registering your organization to use the Apple Messages for Business service.
The onboarding steps for Apple Messages for Business accounts requires an Apple review at different points in the process.
Prepare your assets
Prepare the following informations to fullfill the registration:
The business name for your account
Which will be displayed and visible to the end-user in the Messages app. It should reflect the commercial name of your business, and not include location name, LLC, LTD, Gmbh, Inc., and similar.
- Correct format: Apple
- Incorrect format: Apple Westfarms
Note An Apple Messages for Business account is only available to the official owners of a brand. Franchisees and other similar business owners have to work through their brand owner to use Apple Messages for Business.
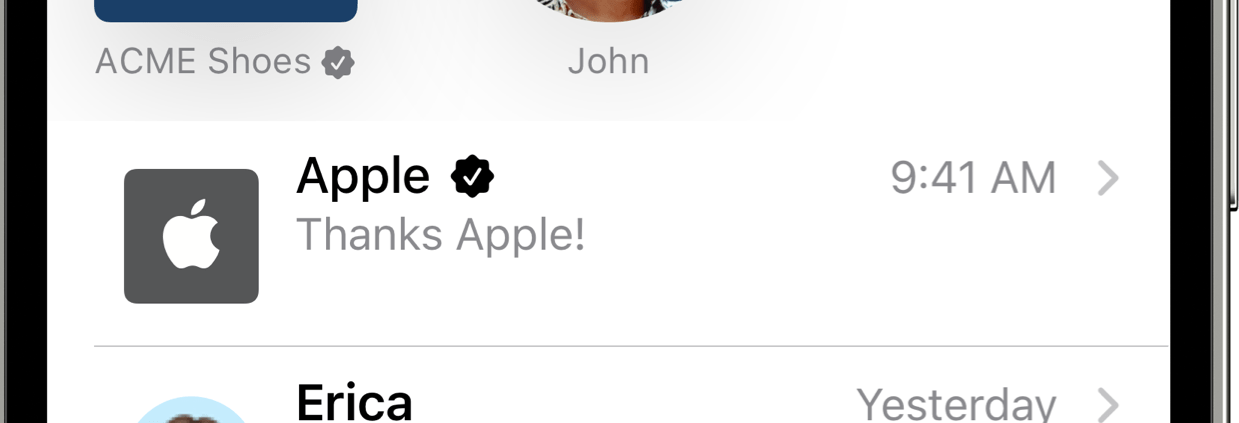
Business logos (2) of the following types
- a wide logo which will be shown at the top of the conversation.
- a square logo which will shown in the conversation list.
Note
- Wide logo should have a transparent background, and the text, if any, must be legible.
- Square logo cannot be personal or product pictures, should have a full color background, and the text, if any, must be legible.
For design and format guidance, see Human Interface Guidelines - Logo.

Your team details
Own business and other project team members full name and email to share access to the account.
Note Use only corporate email addresses (ie name@companyName), instead of personal emails.
Response Hours
Estimated time for a live agent to respond to customers during office hours, and your support's response hours.
Type of Messaging account
You will choose from:
Online business only: only have a online website or if you have no immediate plan to add the Message your business on Apple Maps. If your location is a Head Office please use an “An online business with no public locations”.
Business with 1 public location: to show the Message button only on one physical location (like a store) and a website (optional).
Business with multiple public location: to show the Message button on multiple physical locations on Apple Maps.
Note For more information, see Apple Maps and Your Business Locations
Register for the Apple Messages for Business Service
Setup your organization’s profile:
- Go on the Apple Messages page on Apple Business Register and click the "Get Started" button.
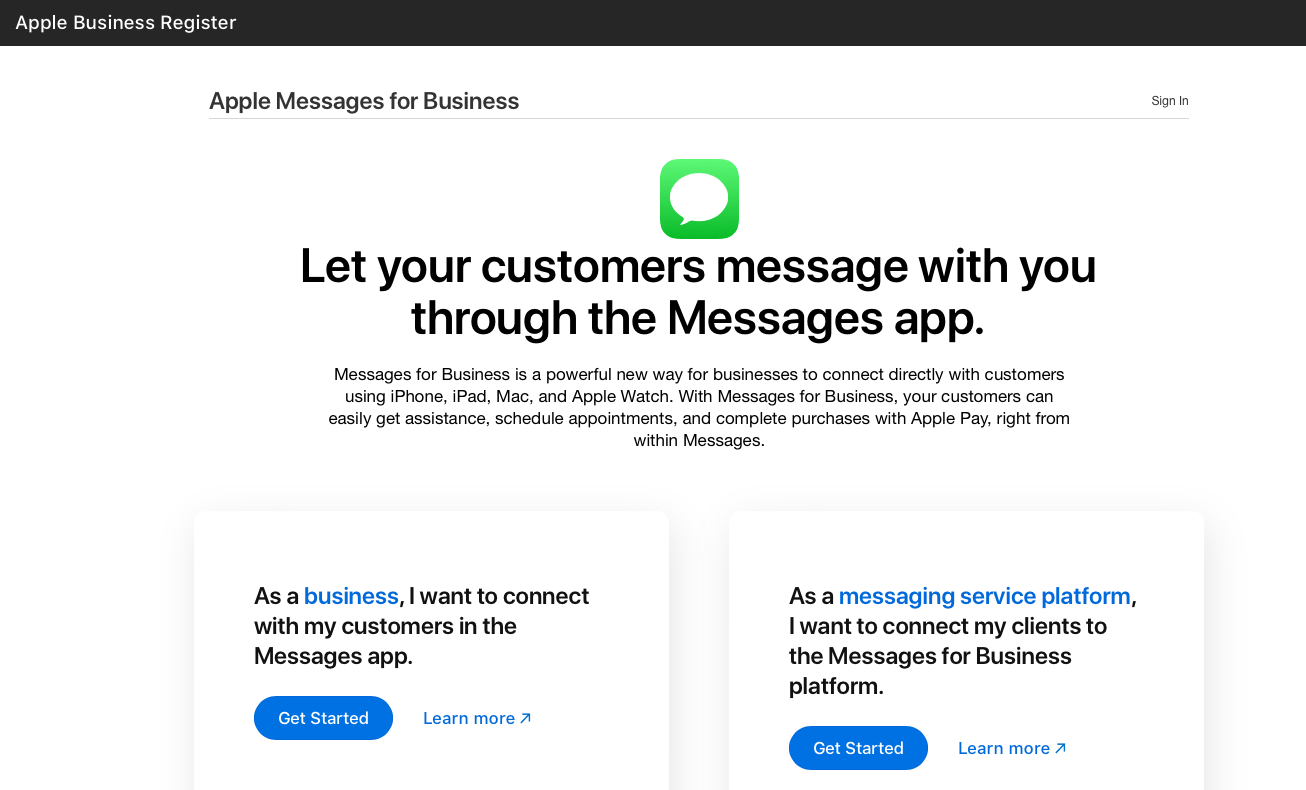
- Login using a business Apple ID (login should be your corporate email) or a corporate Managed Apple ID created by your organization.
Note To create a new Apple ID, visit Create Your Apple ID.
- The first time your login, you will be presented the Apple Messages for Business and Apple Business Register terms. You will have to Accept those terms to continue.
Note You can find links for these terms in the footer of this page.
- Then, confirm the information about your organization, and fill the forms about your account and the Brand identity until you reach the "Messaging Service Provider Configuration" step.
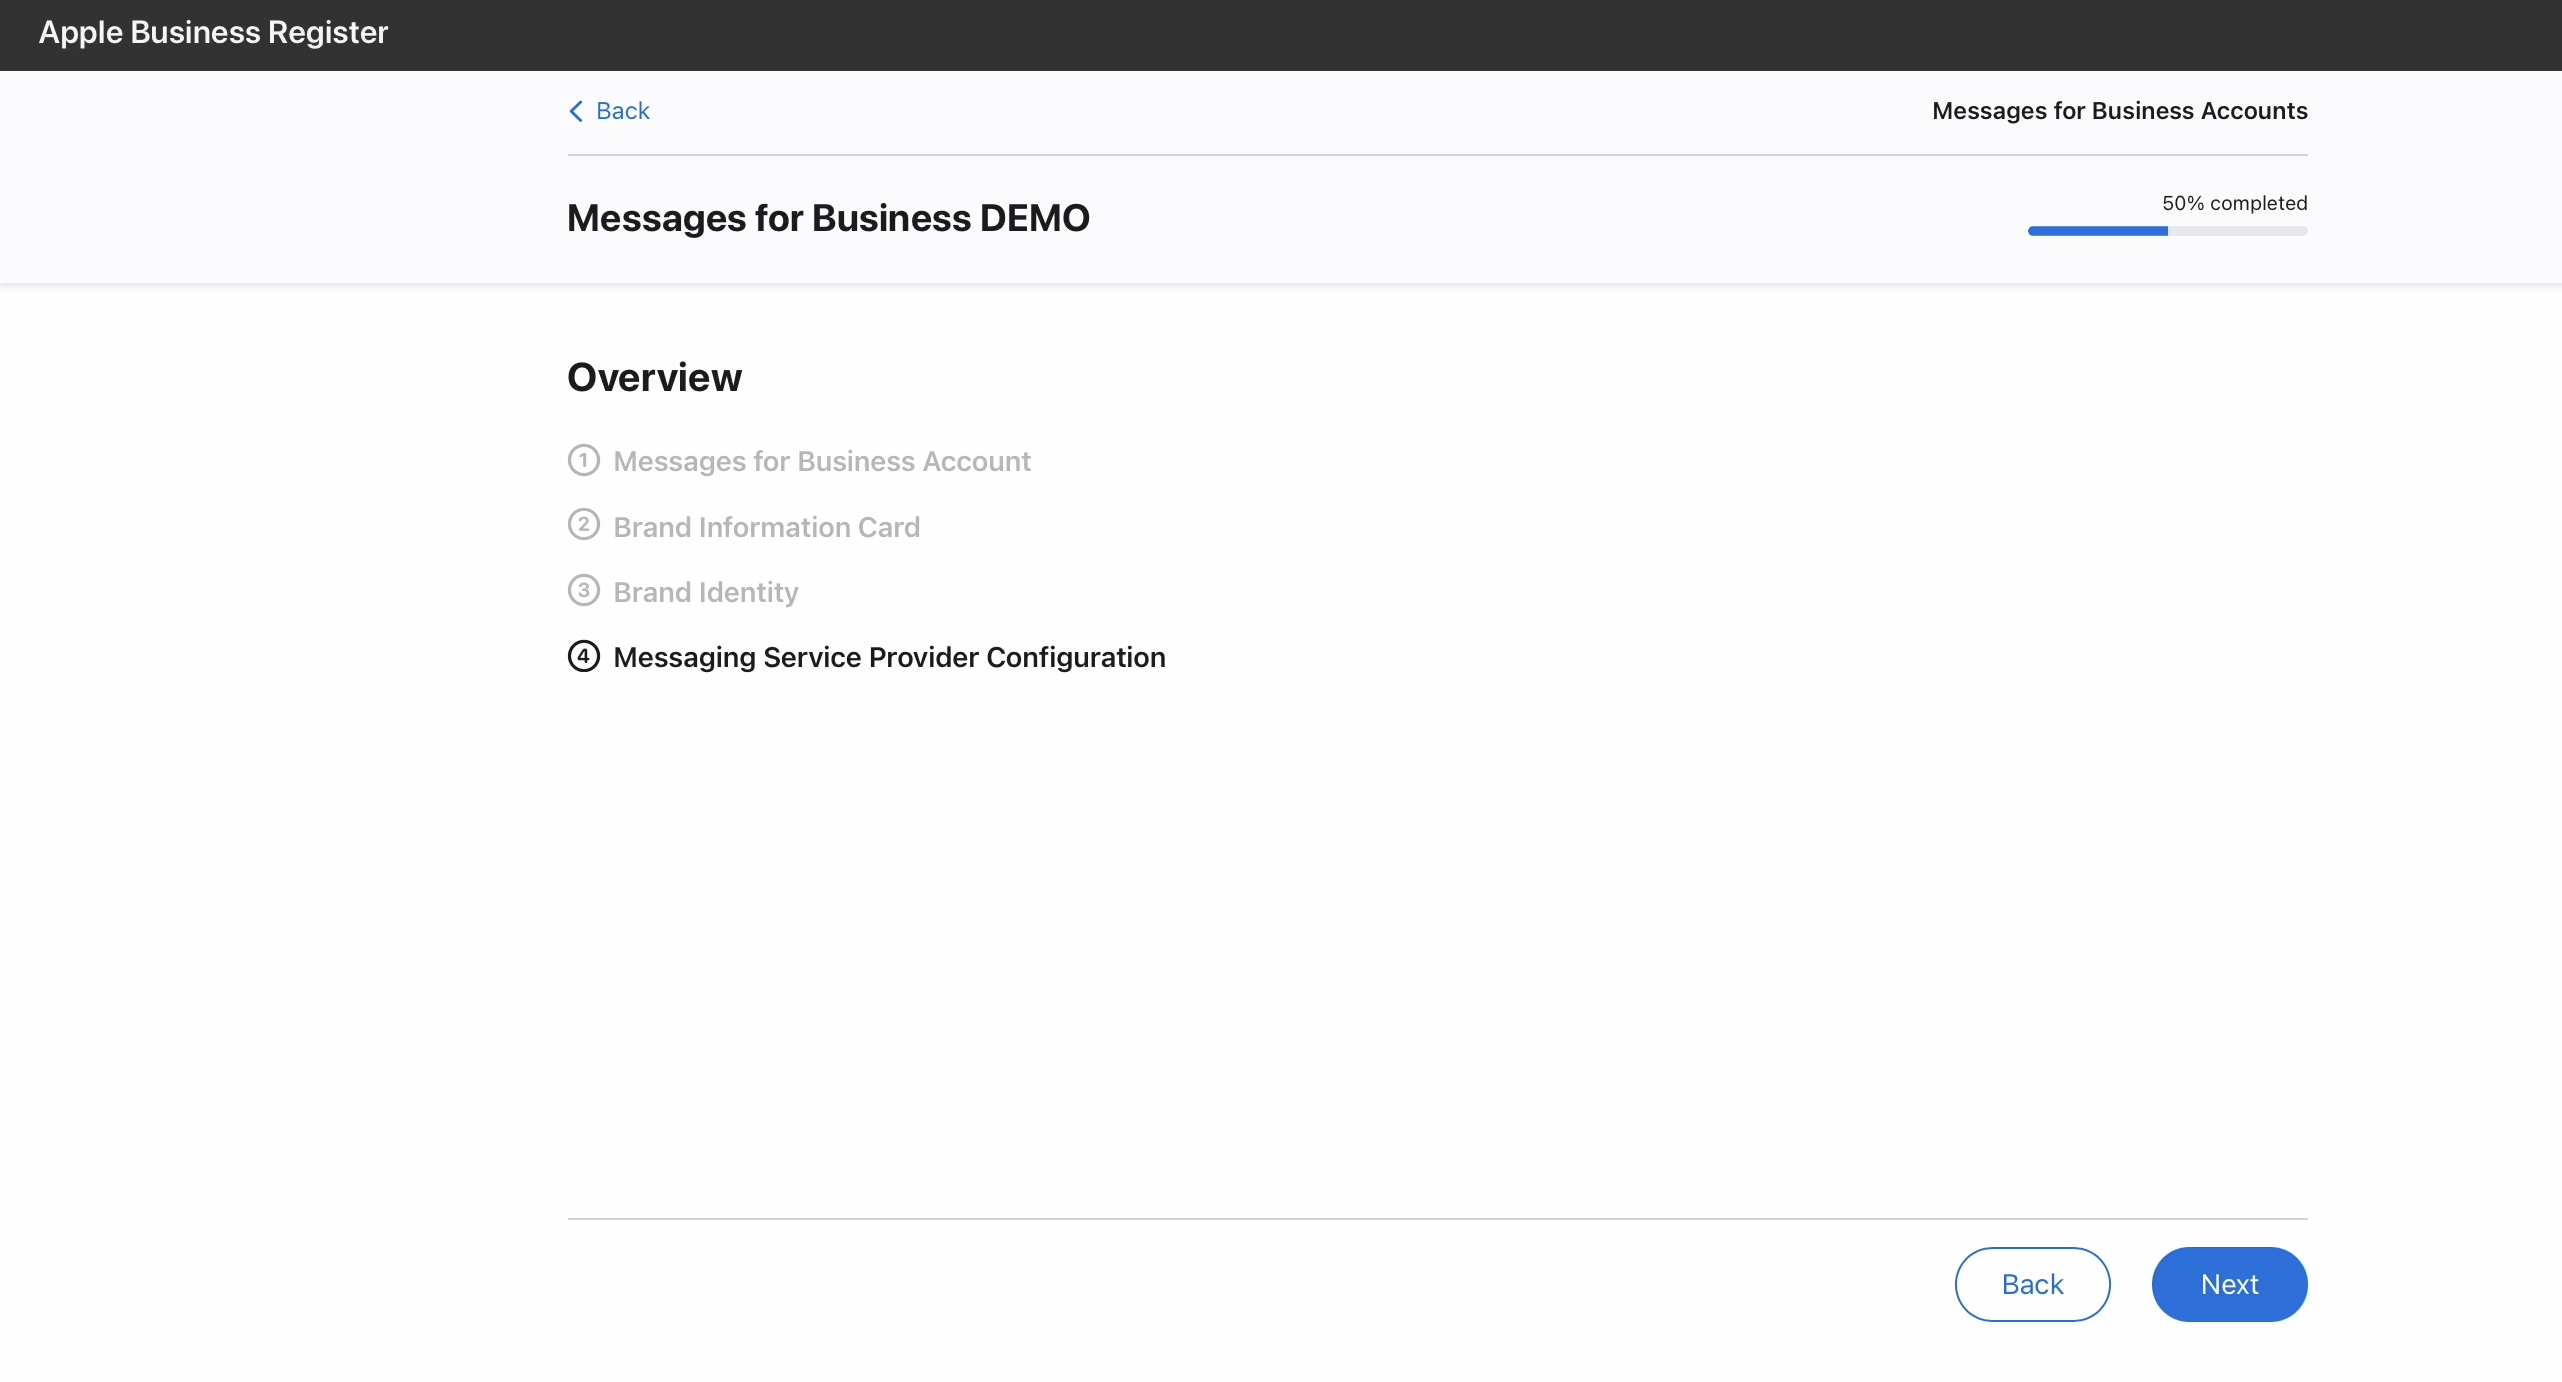
- Click "Next" and then select from one of these options
- an Apple Authorized Commercial Messaging Platform, you can make the selection from the drop-down list
- or if instructed differently by your messaging partner, click on Advanced and choose one of the options.
Once you are done with the selection, click "Next" and "Send Now".
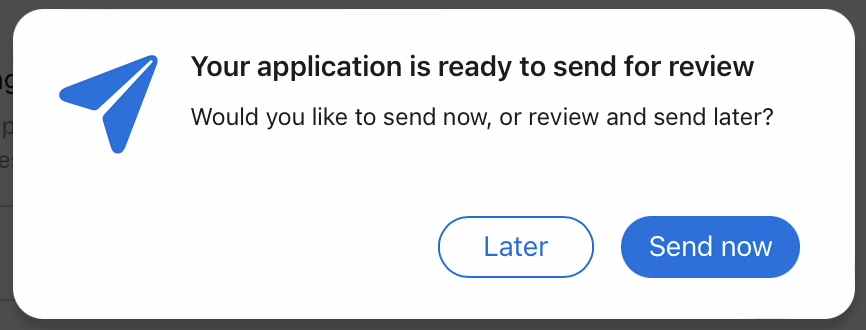
Note If you encounter a problem with a custom "URL provided configuration", please select temporary another Commercial endpoint and write to our support team via email.
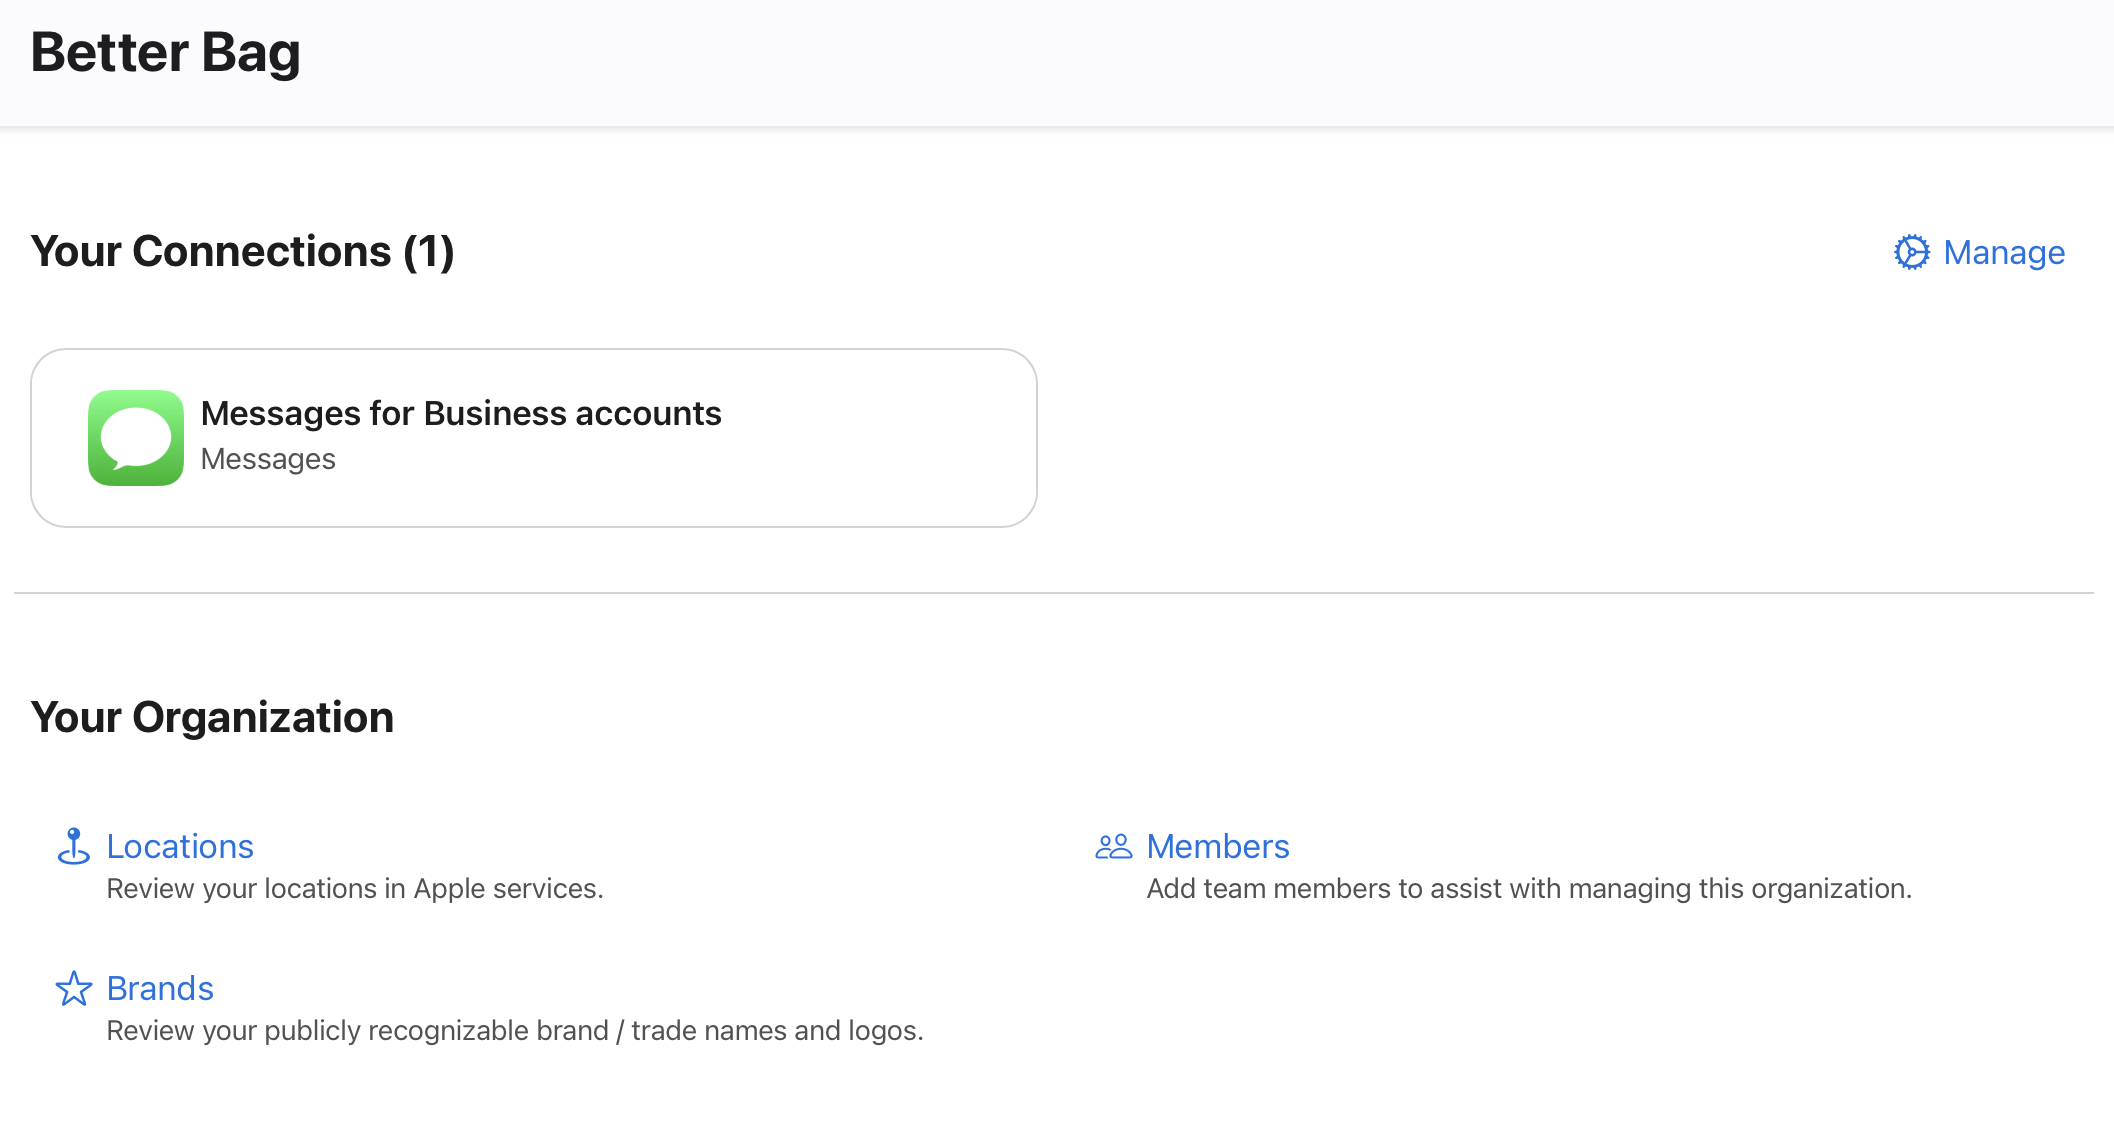
- From now, wait for Apple to confirm your account is reviewed. Click on the "Back" button on the top left corner, you can now see Register dashboard showing up your organization details:
Add Team Members to your Organization
To better coordinate your project and account settings, you can add the key members of your project to your Apple Business Register Organization. Also, in the case you work closely with your Messaging partner to launch the service, you may invite the project lead or representative.
On Register, when seeing the dashboard as shown above,
- Click on "Members".
- Click on "Add a member" and choose "Individual" for the member type.
- Fill the required information: Full Name and Work Email
- Choose a role to assign to this member. You may want to offer "Administrator" role to your messaging partner.
Note You can always revert role type to a member back to "Read only" in the future.
- Click "Submit". Invitees shall now receive an automatic email to join your organization. They will have to follow the link in the invite.
Verify Your Apple Messages for Business account connection
Once Apple approves your Apple Messages for Business account, a ‘Get Started’ button shows up at the top of your account. The wizard takes you through verifying your connection with your MSP. Confirm the link between your this account and your MSP endpoint, as it enables your MSP to correctly route your messages.
Sign in to Apple Business Register and click on Messages for Business Accounts. On the left side, click on the account you want to test.
Scroll to the Messaging Service Platform Configuration section. On the right, click the Connect to with the name of your MSP. Click Connect.
NOTE If the link Connect to... is not available, wait until Apple approves your Apple Messages for Business account before proceeding with this step.
- Clicking Connect takes you to your MSPs landing page to complete the account linking process. Your MSP must confirm that your MSP account is linked to your Apple Messages for Business account. If you have any questions whether this completed successfully, please contact your MSP directly. Apple cannot assist with this step.
TIP You can click Progress, located in the upper right corner, at any time to view the status of your account in the Apple Messages for Business workflow.
- Once you received confirmation from your MSP that your Apple Messages for Business account is linked to your MSP account, you can return to your Apple Messages for Business account page in Apple Business Register.
After integration is complete, you are ready to test with your internal testers. While your Apple Messages for Business account is in test mode, only your testers are able to send and receive messages. For more information about internal testers, see Account Testing.
Once your account has been fully configured and thoroughly tested with your MSP, contact your Apple Business Register representative for a launch readiness review.