Integrating Apple Pay
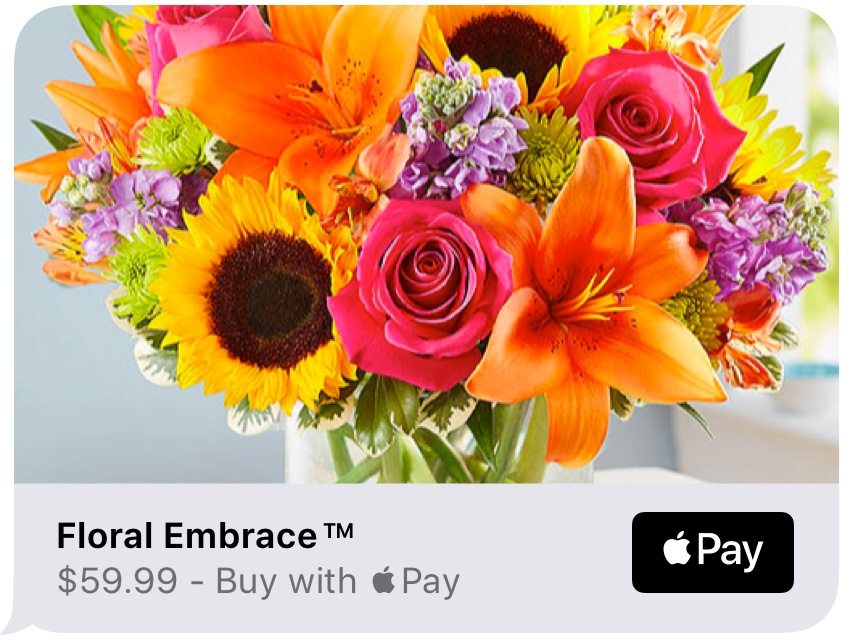
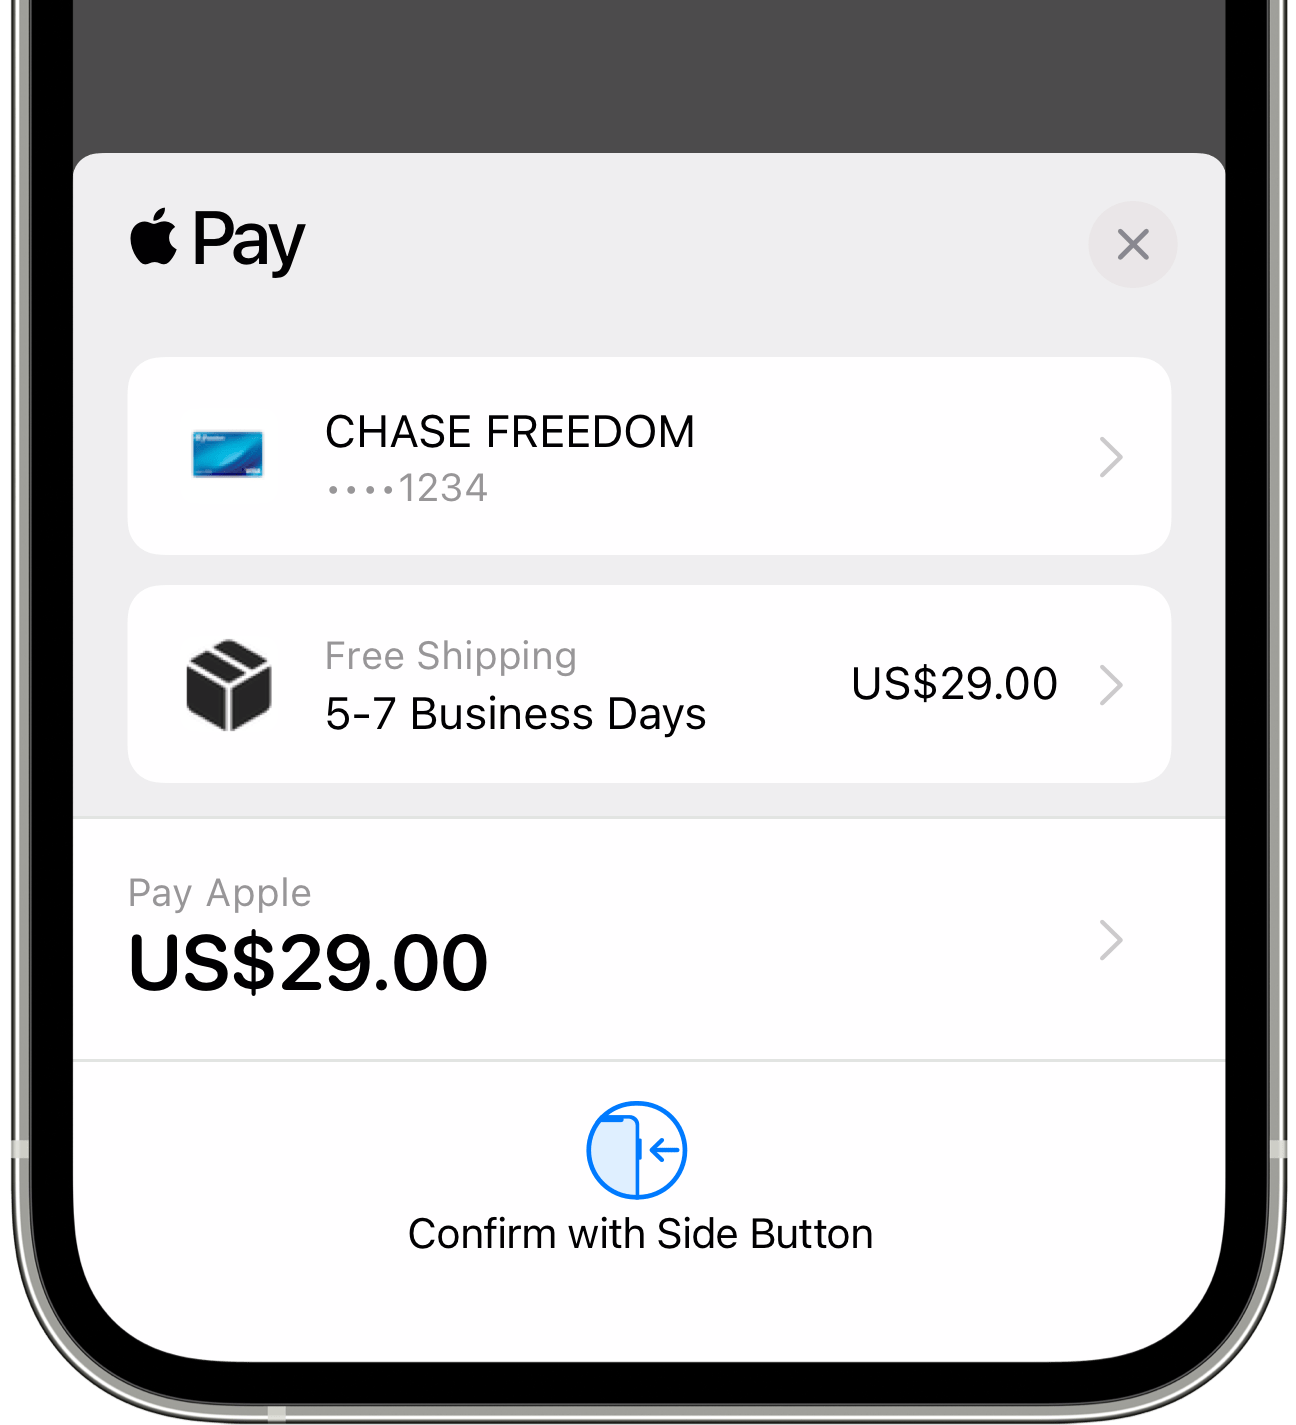
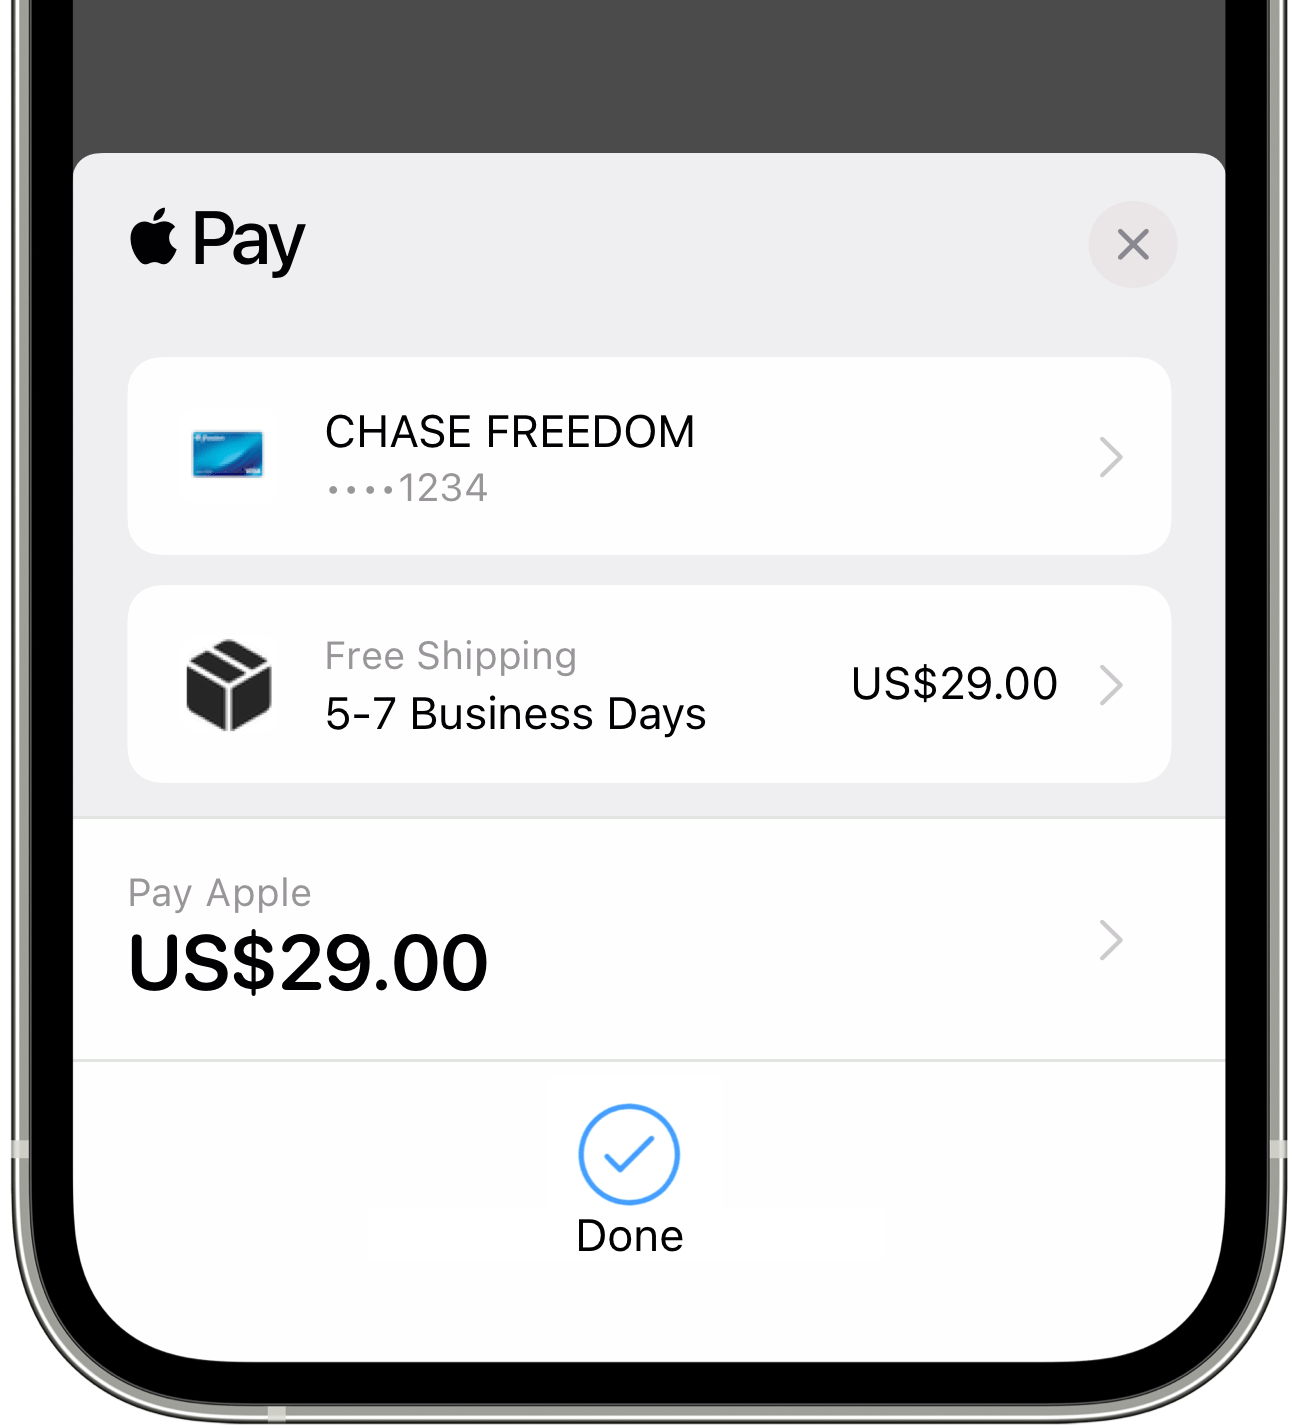
Apple Pay allows consumers to complete purchases without having to manage paper bills, coins, or physical bank cards. Using Messages for Business, consumers can complete transactions with their favorite brands without having to leave the Messages app.
Apple Pay in Messages for Business is a distinct feature, but shares similarities to Apple Pay in-app and Apple Pay on the Web. For more information, see Apple Pay Message.
To support refunds to Apple Pay purchases, use a workflow outside of Messages for Business. For more information, see Apple Pay Resources.
Complete Preparation Steps to Prepare an Apple Pay Merchant Account
Before you are able to send an Apple Pay in Messages for Business payload across the messaging system, you must have a valid merchant account, identifiers, certificates, and domain registrations. The following preparation steps step you through these items to ensure you are up-to-speed quickly.
Preparation Step 1: Set Up an Apple Pay Merchant Account
If you already have an Apple Pay Merchant account, skip to Preparation Step 2: Associate your Website Domain to your Merchant Account.
Set up an Apple Developer account to create an Apple Pay Merchant account at developer.apple.com. The approval time may take several days.
Use one of the following tutorials to add Apple Pay Merchant capabilities to your Apple Developer account:
- Configuring Your Environment" section in Apple Pay JS Documentation
Preparation Step 2: Associate Your Website Domain to Your Merchant Account
Decide the domain or domains to associate with your Apple Pay Merchant Account. Register this association within developer.apple.com. Otherwise, Apple Pay rejects your transactions.
- Log into your developer account at developer.apple.com.
- Navigate to Certificates, IDs & Profiles.
- From the left navigation panel, click Identifiers.
- From the drop down menu on the upper right, select Merchant IDs. The default is set to App IDs.
You will now see a list of your Apple Pay Merchant accounts listed by IDENTIFIER. If this list is blank, return to the Pre-Work section above and add an identifier to your Merchant Account.
- Click on the identifier that you want to use for Apple Pay in Messages for Business. The portal opens a full page view of details for that identifier.
- Search for the Merchant Domains section on the page. Use the Add Domain and Verify buttons to add and verify all domains that you want to use with the Merchant account.
- Follow the directions for verifying each domain.
Reference these industry standards to better understand the verification process:
- IETF RFC 3986 Uniform Resource Identifier (URI): Generic Syntax gives the requirements for the domain portion of your website.
- IETF RFC 8615 Well-Known Uniform Resource Identifiers (URIs) describes the well-known process used by Apple Pay for website verification.
Preparation Step 3: Create and Download the Certificates for Your Merchant Account
- Navigate to the same identifier page as shown in the Preparation Step 2: Associate Your Website Domain to Your Merchant Account.
- Search for the section "Apple Pay Payment Processing Certificate."
- If you do not see a payment processing certificate, use the "Create Certificate" button and follow the instructions to create one.
NOTE You must have a Payment Processing certificate associated with your Merchant account in order to have transactions accepted by the Apple Pay server. The Payment Processing certificate expires every 25 months.
- Search for the section "Apple Pay Merchant Identity Certificate."
- If you do not see a certificate in this section, use the Create Certificate button and follow the instructions to create one.
- Download the Merchant Identity Certificate for use in the code exercises later in this section.
Preparation Step 4: Generate the PEM File for your Merchant Identity Certificate and Test It with cURL
If you have an Apple Pay in-app or on the web endpoint currently in production and are using that account in this exercise, then you can skip this step using your existing PEM file. Otherwise, this step is necessary to work with the sample code provided in this section.
Apple uses command line tools for this procedure. If you are on macOS and familiar with Keychain Access, you can perform these steps using that application instead.
- Create a directory for your key store.
mkdir keysncerts
cd keysncerts/
- Initiate keystore with ECC (EC in the command line) 256 key pair and generate a signing request.
keytool -genkeypair -keystore fileforkeys.p12 -storetype pkcs12 -alias keyone -keyalg EC -keysize 256
keytool -certreq -keystore fileforkeys.p12 -storetype pkcs12 -alias keyone > my_request.csr
- Generate an Apple Pay Merchant Identity certificate.
Log into your Apple Developer account on developer.apple.com.
Navigate to your certificates. Then upload my_request.csr to developer portal,
generate the Merchant Identifier certificate, and it downloads as merchant_id.cer.
openssl pkcs12 -in fileforkeys.p12 -out pv.key -nodes -clcerts
Move merchant_id.cer over to the keysncerts directory. Then convert and export it as a PEM file.
openssl x509 -inform DER -outform PEM -in merchant_id.cer -out server_crt.pem
- Generate the payload file.
vi data.json
Enter the file, save, and exit.
{
    "merchantIdentifier": <SHA256 hash of your text merchant identifier>,
    "domainName": <domain name associated with Apple Pay merchant account>,
    "displayName": <Merchant name in human readable form>,
    "initiative": "messaging",
    "initiativeContext": "https://<...your endpoint URL...>/paymentGateway"
}
- Issue the command to get your Merchant Payment token.
curl -k -vvvv --request POST -d "@data.json" --header "Content-Type: application/json" --cert server_crt.pem --key pv.key "https://apple-pay-gateway.apple.com/paymentservices/paymentSession"
If you can retrieve the token from the command line above, use the PEM file and private key generated on your server.
If you can successfully issue the command, you'll receive a response similar to the one
below. The merchantSessionIdentifier field is the payment token for this transaction that
a payment processor redeems.
For the example code, Apple discarded the token without redemption. This ensures that payment requests completed in a test context don't result in a financial transaction.
Expected Apple Pay server response
{
    "displayName": "<REDACTED>",
    "epochTimestamp": 1588615039232,
    "expiresAt": 1588622239232,
    "initiative": "messaging",
    "initiativeContext": "<REDACTED>/paymentGateway",
    "merchantIdentifier": "<REDACTED>",
    "merchantSessionIdentifier": "<REDACTED>",
    "nonce": "<REDACTED>",
    "signature": "<REDACTED>",
    "signedFields": [
        "merchantIdentifier",
        "merchantSessionIdentifier",
        "initiative",
        "initiativeContext",
        "displayName",
        "nonce"
    ]
}
NOTE Fields
epochTimestampandexpiresAtare integer fields. These must be used back in the messaging payload with correct type.
Exercise: Send an Apple Pay Request——Basic Functionality
This exercise covers the basics needed for you to send an Apple Pay request through Messages for Business and how to read the return message. To qualify as an MSP, you'll need to demonstrate the basic Apple Pay functionality on your platform.
TIP When you host the merchant payment token generator, also known as a payment gateway, you'll receive a payment transaction token. When giving a demo, you can simply retain the token and ensure that no payment transaction is executed. This allows you to run tests and demo your implementation without incurring charges through your Apple Pay account.
For more information on sending Apple Pay requests, see Apple Pay Message.
Also, you can find a sample Apple Pay in Messages for Business request in the code repository
at samples/apple_pay_request.json.
Step 1: Register and Configure your Apple Business Register account
Use the following steps to enter your Merchant Information into your Messages for Business account.
- Go to register.apple.com and sign in. Ensure that you are signed in with your Apple ID which is the administrator or technical contact for the Messages for Business account.
- Navigate to your company's Messages for Business Accounts and find the appropriate business account.
- Under "Optional Integrations" you should see an "Apple Pay" section.
- Click on Edit next to "Apple Pay Merchant ID."
- Enter the IDENTIFIER referenced in the Pre-Work sections into the field labeled "Apple Pay Merchant ID." You must enter it EXACTLY character-for-character as it appears in the IDENTIFIER column in your developer portal account.
- Click "Done."
NOTE Your Apple Pay Merchant ID may be used across more than one Messages for Business account. Each Messages for Business account, however, can have only one associated Apple Pay Merchant ID.
Step 2: Run a test payment gateway
Run a test payment gateway to verify that you can receive payment requests from the user. For more information about the payment gateway API, see PKPaymentAuthorizationController.
Perform the following tasks on your test server:
- Locate the code zip folder and unzip it.
- Locate and run the
13_test_payment_gateway.pyfile.
Expected MSP server response
Payment received!
Request Identifier: \<request identifier in message payload\>
Payment Method Dictionary: {'displayName': 'Visa 1234', 'type': 'Credit', 'network': 'Visa'}
Step 3: Send Apple Pay request
Respond with a test payment session to a request from the test payment gateway, using the following fields in the payload:
merchantIdentifier: SHA256 hash represented in hexadecimal of merchant identifier.displayName: Your merchant name in text in human readable text.domainName: Your base website without any punctuation or prefix, for example: "developer.apple.com", that must match thedomainNameof your merchant account. ThedomainNamefield is used for authentication instead of the merchant information in Apple Pay, so the HTTPS prefix and punctuation is not used. If you leave this field out of your payload, you will receive a token. It will only be valid for Business Pay on the Web, not Apple Pay in Messages for Business.initiative: Set tomessagingfor Messages for Business.initiativeContext: Your payment gateway URL with thehttps://prefix. This is a publicly exposed network endpoint. It won't work using a private network. TheinitiativeContextfield defines an endpoint called during the transaction, so the HTTPS prefix and punctuation are required.
Step 4: Send a payment request as a message
Using the code from 14_send_apple_pay_request.py, send a payment payload for a purchase
item using the merchant session.
Perform the following tasks on your test server:
- Locate and run
13_test_payment_gateway.pyas a background process. - Locate and edit the
14_send_apple_pay_request.pyfile by inserting thedestination_id, located towards the bottom of the file, with thesource_idfrom the output in Exercise: Receiving a Text Message. - Save and run the
14_send_apple_pay_request.pyfile in the foreground.
Expected MSP server response
Messages for Business server return code: 200
If an “Invalid Payment Request” shows up in the Messages client after sending the payment request message, check the following:
- Make sure your payment gateway URL is in the valid URL format.
- Make sure you are obtaining a new merchant session every time you are sending a payment request.
Step 5: Approve the test payment on your iPhone
You should have received the Apple Pay test payment request on your device from the previous step.

Tap the payment message to make the test payment:


Expected MSP server response
After the test payment completes, an interactive message is delivered to your endpoint with the Apple Pay payload. In the payload there is a state field that indicates whether the test payment was approved in your payment gateway. Confirm that the test payment transaction went through your payment system, rather than relying on the state of the return message.
You should see the following output from your Payment Gateway:
Payment received!
Request Identifier: <request identifier in message payload>
Payment Method Dictionary: {'displayName': 'Visa 1234', 'type': 'Credit', 'network': 'Visa'}
Troubleshooting tips
If you can't receive payments in your payment gateway, check the following:
- Ensure you have a valid merchant ID, and you already verified your domain.
- Check your payment gateway is listening to POST requests on
/paymentGateway.
If you receive a 400 error when sending the Apple Pay interactive message, make sure that you have registered your merchant ID on your account at Apple Business Register.
If your custom message doesn't show on your user's device and the message type is Apple Pay, then the reply and response message's text and picture appear in the UI.
Enhance your Apple Pay Request——Advanced Functionality
In the previous exercise, you successfully sent an Apple Pay request. The appearance, though, was very plain. In this exercise, you'll learn a few techniques to enhance your Apple Pay transactions with tax, shipping, and payment options in Messages for Business.
When reading the code, you should notice that it can recognize and parse the payment response.
The next change is the new handlers for new endpoints. The use cases show you how businesses can update the shopping cart depending on a user's payment method, shipping method, or contact information. For illustrative purposes, we made all of these endpoints in our main domain. They can be URL endpoints to different domains for different functions.
Below are the different endpoints:
| Endpoint | Description |
|---|---|
/fallback |
Captures the response for devices that are not able to use Apple Pay. The request redirects the client device to this URL which allows you to explain a procedure for completing the transaction through an alternative payment medium. |
/orderTracking |
Captures changes to the line items, amounts, or status for each line item. If set, it calls on the first presentation of the line items to the user. |
/paymentMethodUpdate |
Called when the payment method, such as debit, credit, or cash, changes. For more information, see ApplePayPaymentMethodUpdate. |
/shippingContactUpdate |
Called when any of the shipping contact details, such as shipping address, associated email address, or associated phone number, change. Also called when the user taps their device to initiate an Apple Pay session. For more information, see ApplePayShippingContactUpdate. |
/shippingMethodUpdate |
Called only when the shipping method is changed. For more information, see ApplePayShippingMethodUpdate. |
Perform the following tasks on your test server:
- Locate and run the
15_handle_payment_gateway.pyin the background to set up the server with the endpoint listeners. - Locate and edit the
16_send_rich_apple_pay_request.pyfile by inserting thedestination_id, located towards the bottom of the file, with thesource_idfrom the output in Exercise: Receiving a Text Message. - Save and run the
16_send_rich_apple_pay_request.pyfile to send the payment request. - Approve the payment on your test device and observe the response on your server.
Expected MSP server response
Payment received!
Request Identifier: cb43a <truncated>
Payment Method Dictionary: {
  'displayName': 'Visa 8087','type': 'Debit', 'network': ’Visa'
  }

orderTracking received!
ordertracking_payload: {
  'version': '1.0',
  'payment':
   {
    'summaryItems': [{
    'amount': '1.5',
    'type':  'Final',
    'label': 'Adoption fee’
    },
    {
     'amount': '1',
     'type': 'Final',
     'label': 'Required shots’
     },
    {
     'amount': '2',
     'type': 'Final',
     'label': 'Outtake fee’
     },
    {
     'amount': '-1',
     'type': 'Final',
     'label': 'Daily discount’
     },
    {'amount': '3.5',
     'type': 'Final',
     'label': 'Your Total’
    }],
    'errors':
    []},
  'requestIdentifier': 'cb43a <truncated>'}

payload {'interactiveDataRef': { <truncated> }
Enhance your Apple Pay Request with Images——Advanced Functionality
By adding a Base64-encoded image of their order, users can visually verify their purchase. For more information about image encoding, see Exercise: Sending a List Picker with an Image.
In this exercise, two fields have been added that require the user to provide additional
information to complete the transaction. The fields, requiredBillingContactFields and
requiredShippingContactFields, are arrays that require the user to provide a postal
address, name, and phone. We recommend adding these fields for physical goods. For virtual
goods, fewer fields may be more appropriate. For more information about the list of available
values for billing and shipping contact fields, see ApplePayContactField.
TIP On the user's device, these required fields default to the information defined in Settings > Wallet & Apple Pay. The user can overwrite these fields for any transaction.
To make up the payment request, multiple line items have been added. These items appear in the order given in the payload on the user device in the Apple Pay drawer for Messages for Business.
Set user expectations about discounts or charges by using a line item for each charge or discount. Each line item can be a zero, positive, or negative value to indicate the type of charge or discount. The total amount of the order must be greater than zero.
The amounts are specified by strings. This allows flexibility across different currencies and payment systems. For more information about payment line items, see lineItems.